Posted on

Common Driving Test Mistakes You Should Steer Clear of

driving

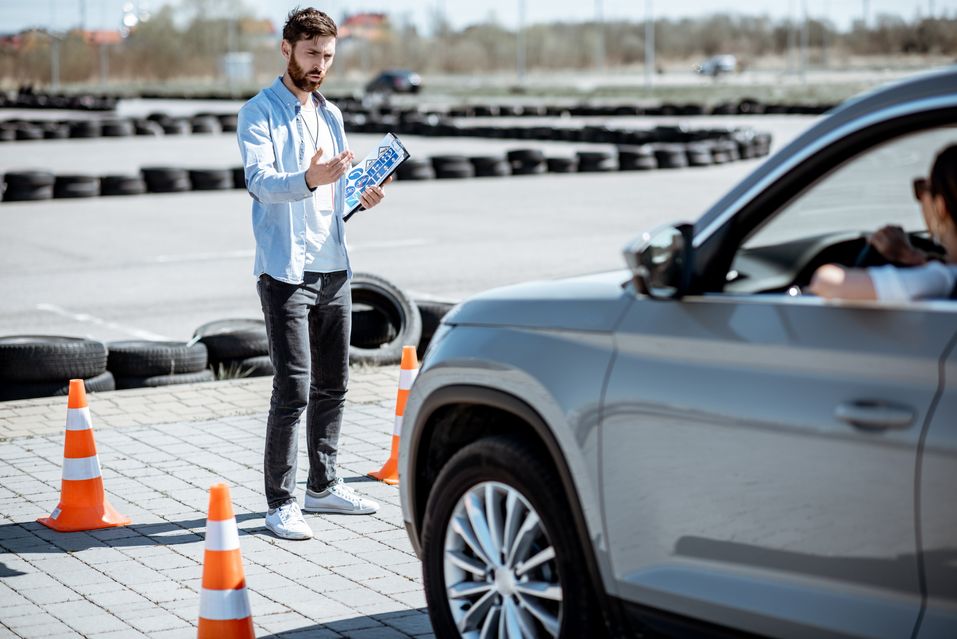
Some people feel they know how to drive before they take the test, but there are certain mistakes that can cause you to fail. Be sure to avoid these mistakes during the test in order to pass. We’ve listed the most common mistakes below. Read on to be more aware of your driving while taking the test.

Common Driving Test Mistakes You Should Steer Clear of

1 – Use Your Mirrors

Using your mirrors is incredibly important, especially when reversing. Before you even start the car, you should adjust your mirrors, so you have a clear view of the road behind you.

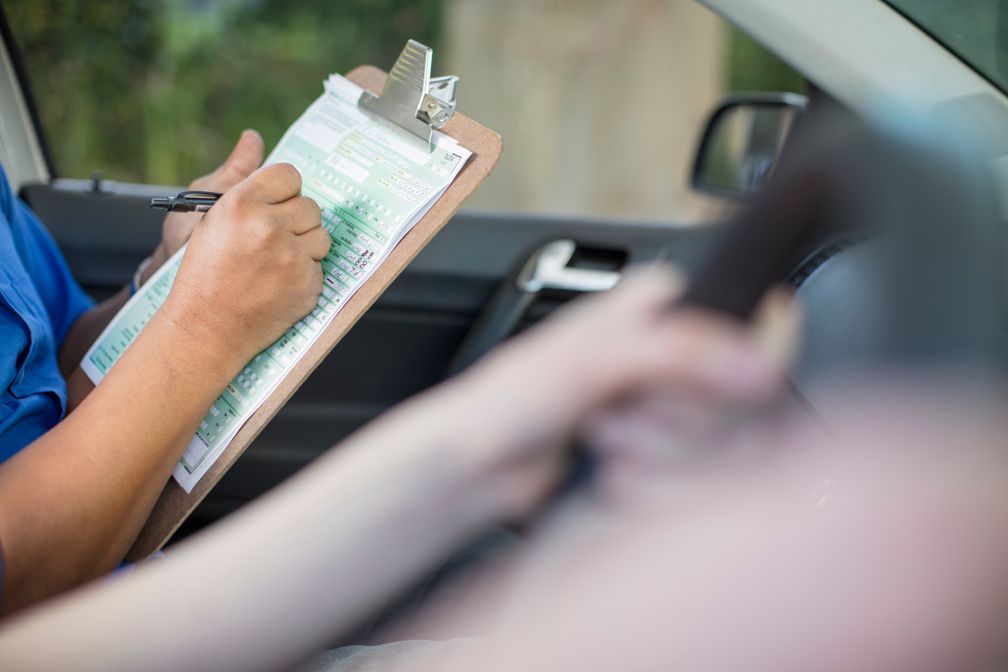
During the driving test, the examiner will be looking to see if you are using your mirrors regularly. Every time you change direction, check your mirrors. This includes when you turn a corner, change lanes and when you park.

2 – Incorrect Signal Use

Using your indicators correctly is vital to let other road users know what you are doing. You should indicate in plenty of time before you turn and cancel the signal once you have completed the manoeuvre. If you forget to indicate, the examiner will be forced to guess what you are doing, which could result in you failing your test.

3 – Hesitation

Hesitation is another common driving test mistake. You may find yourself hesitating at junctions or when changing gear. This is often caused by nerves. It is important to remember that the examiner is not looking to trick you. They want you to pass, so if you are unsure of what to do, ask.

4 – Poor Positioning

Positioning is vital, especially when turning. You should be in the correct position before you turn. This will make the manoeuvre much easier and will also help you to stay safe.

5 – Use All Your Controls

Before you set off, you should check all your controls. This includes your indicators, windscreen wipers, lights, mirrors and seatbelt. Taking note to use all the proper safety features of your vehicle will also be taken into account, so you shouldn’t forget about them.

6 – Driving Too Fast or Not Close to the Speed Limit

We all know how easy it is to speed on the road. Even though the speeding limit is put in place for a reason, many people still choose to drive over the limit. This is because they are either in a rush or are not paying attention to their speedometer.

In the eyes of the law, driving too fast for the conditions is just as bad as driving over the limit. This means that even if the speed limit is 80km/h and the weather conditions dictate that you should be driving at 60km/h, you should still drive at 60km/h.

Conclusion

These are the important things to keep in mind as you do your driver’s test. Make sure you know the material and are comfortable with it before you take the test. Be confident and take your time. Don’t rush, and don’t make any of the mistakes mentioned above.

If you want to properly prepare for your driving test in Langley, come to Midtown Driving School. At Midtown Driving School, we have designed classes with the busy student in mind. We have a very flexible system of classes that allows students to take the classes in any order they wish and at their own pace.

Posted on

6 Vital Tips to Help You Pass Your ICBC Road Test

ICBC Road Test

Are you trying to prepare for your ICBC road test? If so, things can get quite hectic at times as you are trying to do your best to succeed. Understandably, you want to ace the test, ensuring minimal to no mistakes are made to not only pass your exam but also train yourself to become a safer driver.

Well, with that said, if you are looking for tips to successfully pass your ICBC road test, here are some tips you need to follow:

1. Ensure the Car Is in Good Condition

The first thing you need to do is ensure the car you intend to use for your ICBC road test is in good condition. This means that you will want to check the condition of the brake lights, headlights, indicators, tire pressure, and more. Doing so not only ensures you’re safe while driving but can give your instructor a sense that you know what you’re doing.

2. Practice Makes Perfect

With that said, you should also practice driving the course you are going to take in order to prepare yourself for the test. More often than not, drivers will have to drive up a ramp and reverse back down the opposite ramp. You should practice this as much as possible in order to see if you can do it smoothly and correctly.

3. Use Signal Lights Effectively

When you drive, you should use your signal lights correctly and effectively. This way, it will be easier for the examiner to know where you are going and what you are doing. Therefore, ensure that you are properly signalling when you are changing lanes, turning, and more.

4. Thoroughly Scan Intersections

You should always be on the lookout while driving. This way, you will be able to actively be aware of everything that is around you. When you are scanning, you should be looking out for other traffic and the road ahead of you. This especially applies to intersections where cars can be coming from various directions and may put you at risk if you make a mistake.

5. Check Your Blind Spots

It is also important to always check your blind spots. Why? Cars, people, and other things can be hiding in the blind spot, and if you don’t know they’re there, you might just end up hitting them. So, checking over your shoulders often and looking at the mirrors before making turns and the like can ensure you aren’t putting yourself and anyone else at risk.

6. Have a Good Driving Position

Lastly, ensure that you have a good driving position when you drive. Having a good driving position will allow you to have better control of the vehicle as well as be able to see better. Therefore, you should position your feet so that you can easily reach the foot pedals, your back should be straight, and your hands should be at the nine and three o’clock positions.

Conclusion

If you’re going to pass your ICBC road test, you need to ensure you’re doing everything by the book. This means that you should always follow the traffic laws, ensure your car is in good condition, practice driving the course, and more. The better you do, the better your chances of passing and becoming a safer driver!

Midtown Driving School offers classes designed with busy people in mind, offering flexible classes that allow anyone to take classes in the order they want. If you are looking for driving classes in Langley, reach out to us today!

Posted on

6 Things You Should Expect in an In-Car Driving Lesson

Car Driving Lesson

Driving is a necessary skill because you won’t be able to go to many places if you don’t know how to. Commuting is an option, but you’ll have to deal with many people. For this reason, driving is a quintessential life skill. Of course, you won’t be able to drive without taking a driving test first.

Driving tests are split into two parts: theoretical and practical. The theoretical aspect tests your mental knowledge, while the practical exam requires you to be inside a car with an instructor. This is where many people often fail because they’re usually nervous, affecting their performance. When this happens, they’ll need to start over from the beginning. Because of this, one must know the things to expect in an in-car driving lesson, such as:

#1 – Bring Your Learner’s Permit

Your lessons won’t start without your learner’s permit. This is an essential thing you will bring because without this, you won’t be allowed to maneuver the vehicle. You won’t be allowed on the road if you don’t have it.

#2 – You Start in the Passenger Seat

You won’t start at the wheel when you take your driving lesson. Instead, you’ll begin as the passenger. Your instructor will brief you on the basics, such as starting the car and getting acquainted with the controls. This is necessary because easing you into driving is the best way to avoid overwhelming you.

Mirrors are vital because they’re your only way of seeing what’s behind you. The pedals are also introduced because the brakes are needed first if something terrible happens.

#3 – You Will Switch Places and Be in the Driver’s Seat

Once acquainted with the controls, you’ll be allowed to drive the vehicle. The only difference is that you’ll start on a closed course. The instructor will direct you through various maneuvers, such as taking turns, going into reverse, and parking. You’ll take direct instructions from your instructor, but it will be you taking the wheel.

At this point, you should also expect to switch seats with your instructor many times because they’ll be giving you instructions while you’re driving. This is done to ensure you understand what they’re saying.

#4 – Lots of Questions Will Be Asked

As you drive, your instructor will ask many questions based on your actions. They’ll also ask questions about what you’ve learned in the classroom. Remember that your instructor is just testing you to see if you understand what they’re teaching.

These questions will help you pass your driving test because they’re the same questions you might ask. There are no trick questions because you’ll be tested on what you’ve learned. If you can’t answer a question, you shouldn’t feel bad because you’ll have another chance to demonstrate your knowledge in the practical test.

#5 – Driving Tips Will Be Taught

You’ll have many things to do while driving because you’ll need to check your mirrors and be aware of your surroundings. You should also focus on making turns, changing lanes, and staying in your lane. You should also learn how to parallel park because you’ll use this skill often.

Instead of being nervous, you should take advantage of the in-car lesson to learn what you need to do to pass your driving test. Let your instructor teach you the tips and hints you need to know to obtain your driver’s license.

#6 – A Personalized Report Will Be Given to You

After the lesson, you should receive a report that will tell you what you did right and what you need to work on. This will help guide your driving lessons so you can pass the practical test. If you keep practicing what your instructor told you, you should be able to pass.

Conclusion

Learning how to drive a car will be challenging, but you can lighten the load by knowing what to expect in an in-car driving lesson. Because these lessons are tailored for you, it will be easier to know what topics to cover and how to pass the driving test. Your job is to listen to whatever your instructor will say, so be sure to do them.

If you’re looking for a driving school in Langley, Midtown Driving School is the place for you! Our comprehensive driver’s training program will ensure you’re equipped with the knowledge to be ready for the road at an affordable price. Simply go to our website to register!

Posted on

How to Navigate Intersections Safely: 6 Useful Tips

busy intersection

Driving carefully is essential when you’re out on the road, especially if you are a beginner driver and want to keep yourself safe from possible accidents. There are particular roads and routes where you have to be more meticulous to stay safe. In particular, you have to be wary of intersections.

Intersections have multiple moving parts, and ensuring they move smoothly is crucial to seamless and safe navigation. If you want your journey at intersections to be a breeze, here are some useful tips you can follow.

1. Be Prepared by Researching Routes

Before you set out, you should have a rough idea of the route you plan to take. If you don’t know where you’re going, you’re more likely to get lost and face problems. But if you know your destination in advance, you can check the road conditions, potential traffic situation, and what exactly you must do when you get to the intersection.

So, read up on the roads you will be taking and get to know the intersections you’ll pass by. They are often large and busy, so you need to familiarize yourself with the area. This way, you know where you are going if you get lost.

2. Give Yourself Enough Time to Travel

When you hit an intersection, you need to give yourself enough time to drive through it. This is especially true when a major road you’re on becomes smaller or when you need to turn right or left to another major road.

You should also be mindful of traffic patterns. Do you know when and where the heaviest traffic is at a particular intersection? If you know these things, you can factor it into your travel time, so you won’t be rushing when you are on the road.

3. Avoid High-Risk Intersections If You’re Not Too Skilled

Often, intersections with more movement and higher traffic volume are more dangerous and stressful to navigate, so you should avoid them if you’re not a confident driver. If you are still not comfortable with these intersections but you have no choice, try to navigate them during non-peak hours.

4. Observe Speed Limits

Speed limits are there for a reason, and that is to keep you safe. It is especially true with intersections. You should be extra careful with your speed when you are at an intersection. Get an idea of how fast you can go and hit the brakes if you have to.

5. Check Your Rearview Mirror before Continuing

While your main focus is to get over to the other side of the intersection, you can’t forget that you are not the only other driver on the road. Other drivers are out there; some are not paying attention, and there may even be a few who erratically drive. This is especially true when you are at a major intersection where many vehicles are on the road.

You need to constantly check your rearview mirror when you are driving, especially when you are in an intersection. Other vehicles coming from other directions are also making their way to that intersection, and you need to be mindful of your safety.

6. Don’t Break the Traffic Rules

Stoplights, road signs, and laws are there for a reason—so you stay safe. The narration of rules of the road and traffic signals are some of the things you expect to find in a driving course. So, you need to know what they mean and obey them.

For instance, it doesn’t matter if you’re a professional driver or a beginner. Whenever you’re on the road, and you see a stop light, you need to stop.

Final Thoughts 

Driving at intersections is not a walk in the park, but with the right amount of knowledge and a lot of practice, you can easily drive the road. Don’t forget to follow these useful tips to help you navigate intersections safely and smoothly.

Improve your driving skills and master driving at intersections by enrolling in Midtown Driving School. As the best driving school in Langley, we assure you that you will learn about navigating the roads best and keeping yourself safe. Call us today to get started

Posted on

Everything That You Need to Know about Road Signs

stop sign

The main thing that beginner drivers tend to struggle with is road signs. Driving is already quite tricky when you’re starting out and having a poor understanding of the signs that you encounter on the road will make things infinitely more difficult. This is why we thought it would be useful to put together a brief article on this subject. If this is something that you’re interested in learning more about, read on as we break down everything you need to know about road signs.


Types of Road Signs


While there are different road signs to promote safe driving, they can be summed up into three different categories:


  1. Regulatory Road Signs: Regulatory road signs provide drivers with important information about driving rules, traffic laws, and road safety protocols. While almost every regulatory sign must be followed all the time, there are a few conditional laws that are applied based on the time, location, speed, and weather. Typical examples of regulatory signs include stop signs, speed limit signs, one-way signs, and yield signs. Although traffic signs do not come in a specific shape, size, or colour,

  2. Warning Road Signs: It goes without saying but these signboards are for the driver’s alert. They let you know about possible road hazards. They give you an idea about upcoming potential traffic, pedestrian, or animal crossings. Common examples are bend ahead, roundabout ahead, slippery road conditions, etc.

  3. Guide Road Signs: Lastly, guide road signs are usually used to express location-specific information to help you identify where things are. These are usually rectangular in shape and are either green or white so that they can be read easily. The shape of these signs varies depending on their use. Common examples of guide road signs are freeway entry and exit signs, parking signs, and rest stop signs.

Common Shapes of Road Signs

 The shapes of the sign also carry specific meanings. Understanding what the shapes mean will allow you to better interpret what road signs mean. Here are commonly used shapes for road signs:


  1. Octagon: Octagons are dedicated to stop signs. If you see a sign shaped like an octagon it usually means you have to make a full stop.


  1. Circles: Signs that are in the shape of a circle are usually legal orders or prohibitions.

  2. Pentagons: These signs are used to indicate school zones. They are usually brightly coloured to catch a driver’s attention.


  1. Crossbucks: Crossbucks usually indicate railway crossings. These signs mean you should stop when there is a train crossing the space.

  2. Rectangles: These signs are typically used in combination with circular or triangular signs, and they indicate the restrictions on motorbike riders. They can also warn of hazards ahead, such as hidden dips in the road.

Conclusion

We hope this article proves to be useful when it comes to helping you gain a better understanding of road signs that you will encounter when driving. While this may seem complicated at first, everything that we’ve discussed here should give you good foundational knowledge that will be useful out on the road. Feel free to look back on this article if you need a quick refresher on this subject.

If you need further help with driving, why not try out a car driving school? At Midtown Driving School we have designed classes with the busy student in mind. We have a very flexible system of classes that allows students to take the classes in any order they wish and at their own pace.